
- Featured
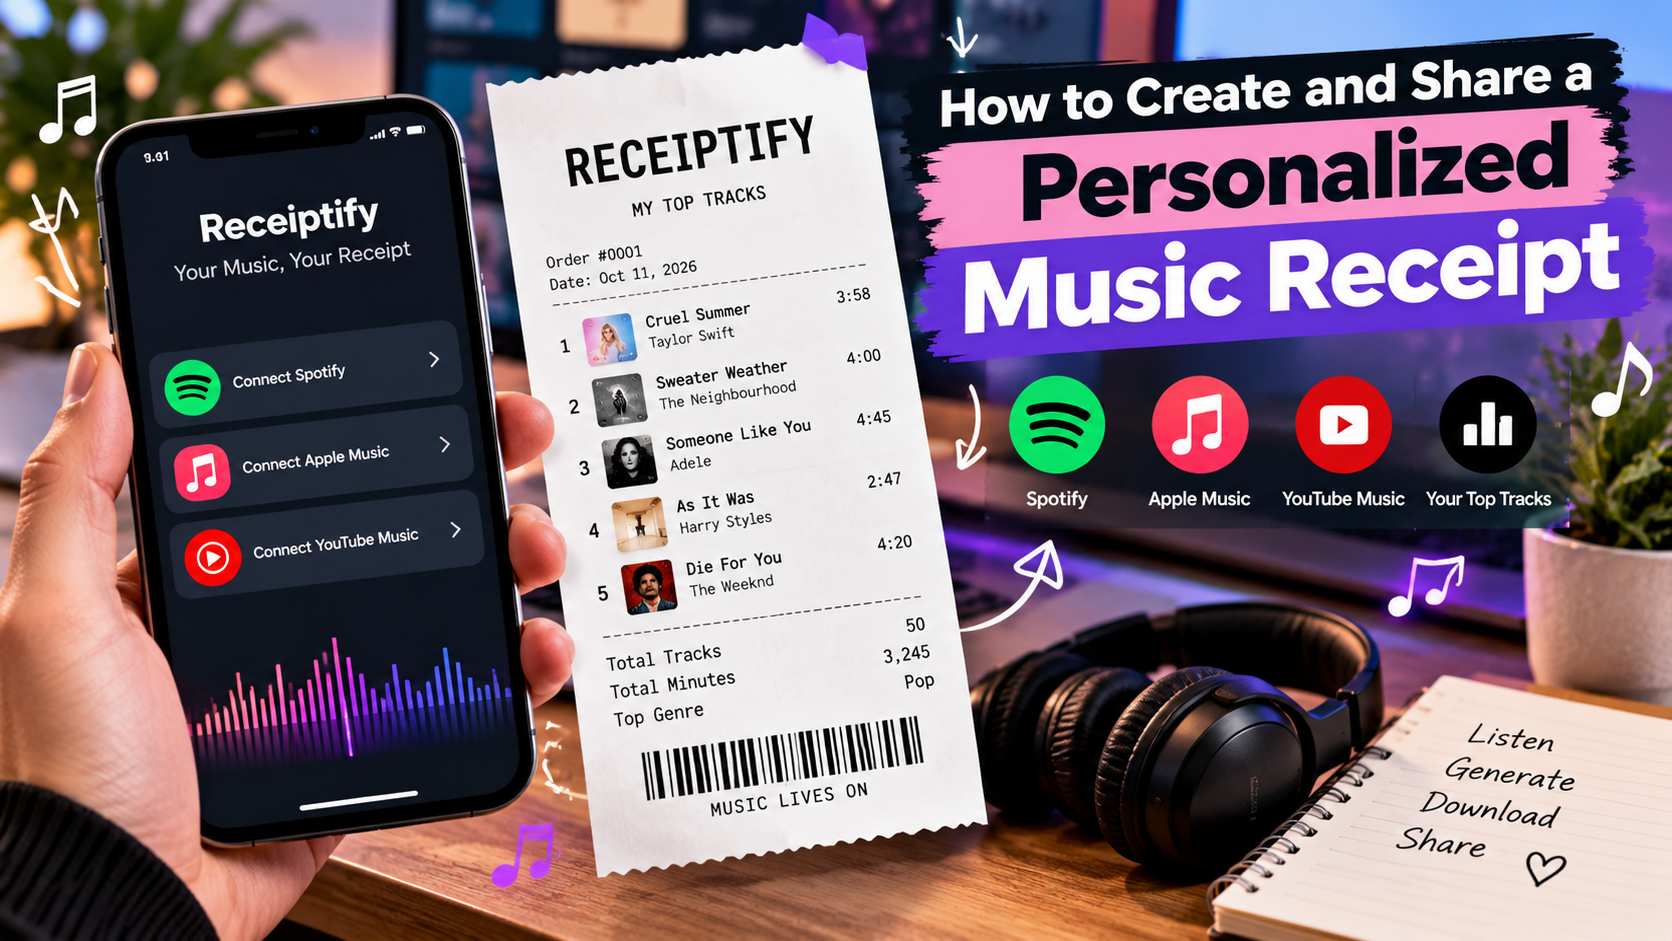
How to Create and Share a Personalized Music Receipt
A practical guide to turning listening history into a clear, shareable image
Music is a personal soundtrack, but it can be difficult to show someone what you have been listening to lately. A personalized music receipt turns listening data into a compact, receipt-style image that lists favorite tracks or artists in a format people can quickly read and share. It offers a playful snapshot of music taste without requiring a long playlist explanation.
A practical starting point is the Receiptify user guide, which explains how to choose a supported music service, select listening statistics, and save a receipt for sharing. Following a few simple steps can help you make a cleaner, more useful image while keeping the information you share intentional.
What Is a Personalized Music Receipt?
A personalized music receipt is a visual summary of listening activity arranged to resemble a store receipt. Instead of listing groceries and prices, it displays music-related information such as top tracks, favorite artists, or other available listening statistics. The format is easy to scan, works well as an image, and gives friends a quick view of the songs that have been part of your recent routine.
Before You Begin
Start by checking which music service the tool currently supports and whether the account contains enough listening history to create a useful result. The Receiptify user guide describes Spotify and Last.fm as supported options. Features and service availability can change, so check the current instructions before you begin rather than assuming every streaming platform will work.
Use a browser you trust and read the authorization screen carefully. If you are asked to connect a music account, confirm that the sign-in and permission steps are taking place on the service’s own legitimate page. Review the requested permissions before approving access, and do not enter your account password into an unfamiliar page.
Step 1: Connect a Supported Listening Account
Open the receipt-generation tool and choose the available sign-in option for your music service. Follow the service’s authorization process, reviewing the requested access before you approve it. The purpose of this connection is to let the tool retrieve the listening information required to create the receipt; the exact data available depends on the connected service and its interface.
Step 2: Choose the Information to Show
Once connected, look at the available receipt options. Depending on the current version and account type, you may be able to choose categories such as top tracks, top artists, genres, or a general statistics view. Selecting one category gives the receipt a clear purpose: a list of tracks works well for sharing recent favorites, while an artist-focused view can show which performers dominate your listening habits.
Choose a time range that matches the story you want the image to tell. A recent period can reflect what you are enjoying now, while a longer period may reveal more stable preferences. If the tool offers different list lengths, a short list is easier to read on a phone, whereas a longer one provides more detail. Preview the result after each change so the final image is not crowded or difficult to read.
Step 3: Review the Receipt Before Downloading
Before saving the image, check that the track names, artist names, rankings, and other displayed details look sensible. A receipt is a visual summary, so a typo or a cramped layout can make it less useful when shared. If the page lets you change the metric, timeframe, or number of items, make those choices before downloading rather than editing the image repeatedly afterward.
Remember that listening statistics are not always identical across services. Data sources may calculate plays, rankings, or time periods differently. If two tools show different results, it does not necessarily mean one is broken; they may be using different definitions or date ranges. Present the receipt as a personal snapshot instead of treating it as a precise measurement of every listening session.
Step 4: Download and Share Your Image
When the receipt looks right, use the available download option to save it as an image, if supported. Keep the original file so you can reuse it later or resize a copy for a particular social platform. If the download control does not work on a mobile browser, try the site’s current recommended method or use the device’s normal screenshot function, provided the result remains readable.
Choose the sharing format based on where you plan to post. A vertical crop may suit a story format, while a square or landscape image can be easier to view in a regular feed or message. Avoid cropping out song names or other context. Add a short caption that invites conversation, such as asking friends which track they would keep or which artist surprised them, rather than stuffing the post with unrelated hashtags.
Protect Your Privacy When Sharing
Music taste can reveal more than entertainment preferences. A receipt may show artists, genres, and patterns that you would rather keep private. Review the image before posting, especially if you are sharing it publicly. Do not include account information, private profile details, or other personal information that is not needed for the post.
It is also worth checking the service’s permissions and privacy information from time to time. Revoke access you no longer want through the connected service’s account settings, if that option is available. Use legitimate sources, avoid lookalike websites, and be cautious about any tool that asks for credentials in an unexpected way.
Common Problems and Simple Checks
If the receipt fails to generate, refresh once, check your connection, and make sure the selected account is active. An outdated browser, blocked authorization window, cached page data, or temporary service issue can affect how a web tool behaves. Trying a supported browser or clearing the site’s cached data may help, but do not assume every issue has the same cause.
If the receipt appears empty or incomplete, review the selected service, metric, and timeframe. The account may not have enough data for the chosen view, or a particular statistic may not be available through that service. Consult the current instructions and avoid repeatedly granting permissions without first understanding what access is requested.
Make the Result Personal
The most interesting receipt is not necessarily the one with the most tracks. Choose the view that tells a simple story about your listening: a handful of songs on repeat, a set of favorite artists, or a contrast between recent and long-term habits. You can also add a short note when sharing the image to explain why a track matters or to invite friends to compare their own results.
Conclusion
Creating a personalized music receipt is a simple way to turn listening data into a shareable visual. Choose a supported account, review its authorization request, select a meaningful metric and timeframe, preview the layout, and save the image in a format that suits your audience. Before posting, check the details and consider what your listening history reveals. A thoughtful receipt can start a music conversation while keeping control of what you choose to share.